Creating a Ticket
Tickets capture a new customer contact. Create one as soon as a prospect calls, emails, or is added to your follow-up list.
How to Create a Ticket
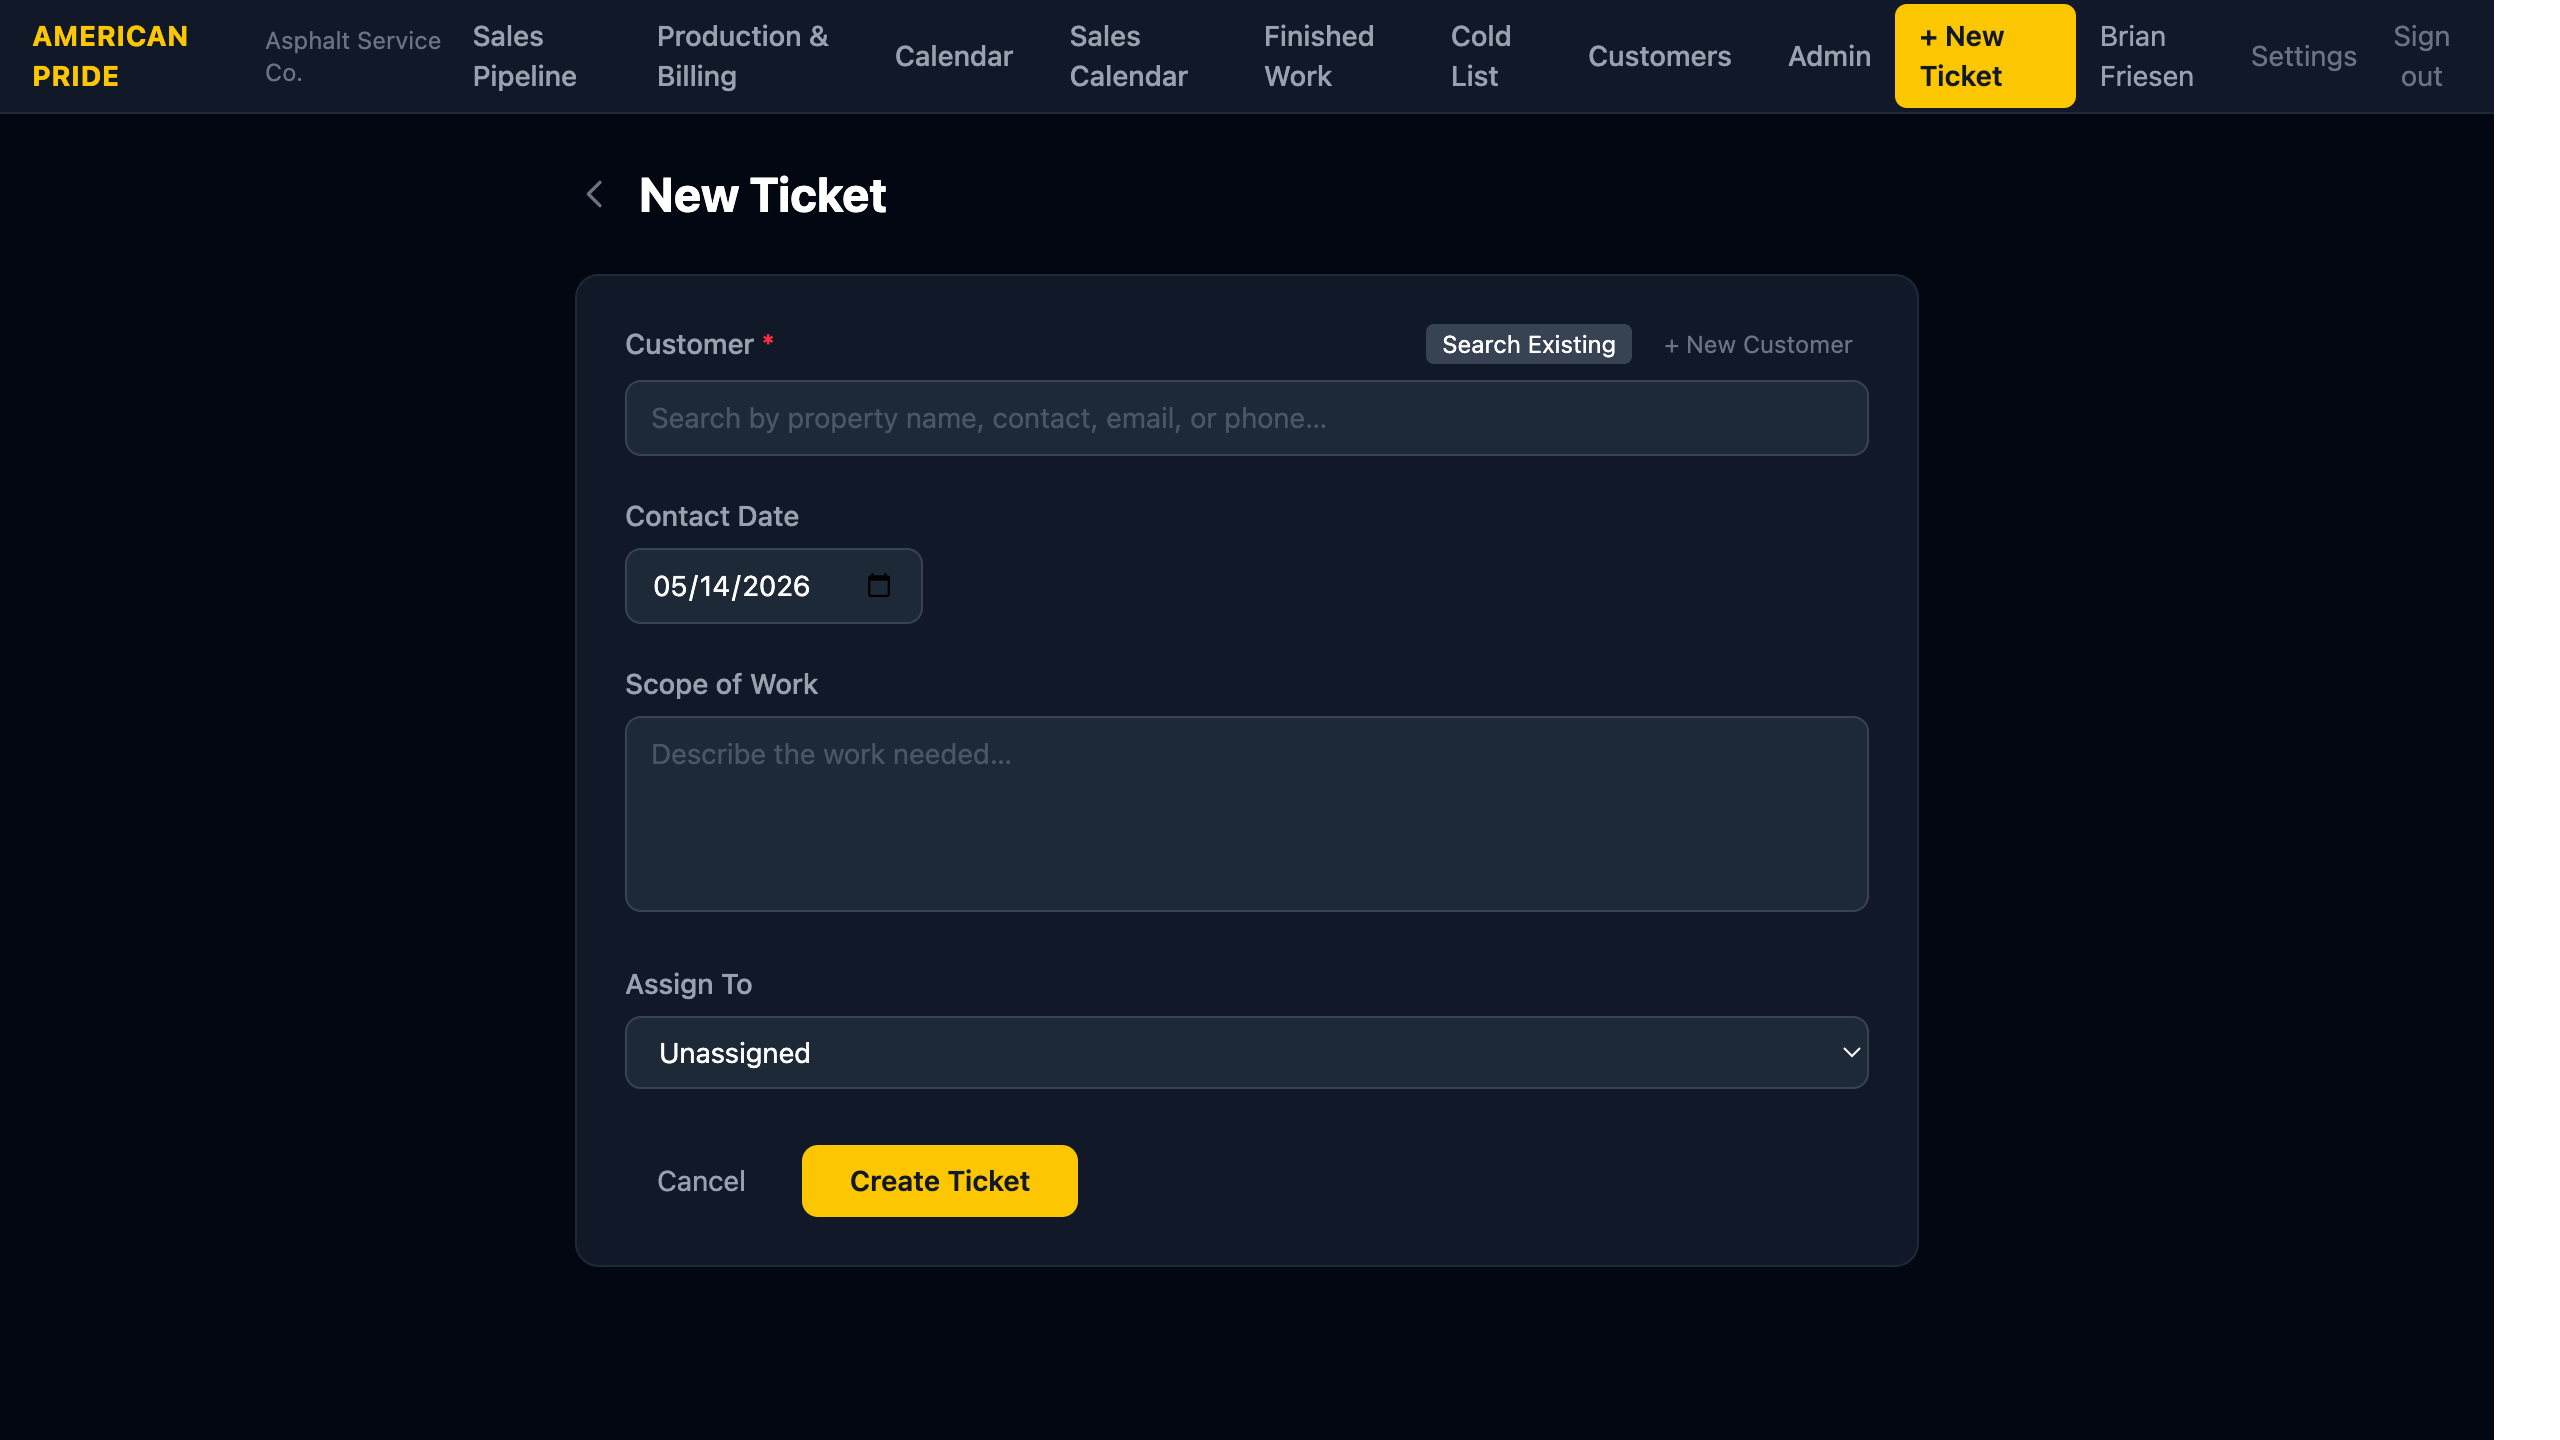
- Click + New Ticket in the top navigation bar (available from every page).
- Select or create the customer:
- Click Search Existing to find a customer already in the system — type a property name, contact name, email, or phone number.
- Click + New Customer if this is a brand new customer — a form will appear to enter their details.
- Contact Date — defaults to today. Change it if the initial contact was on a different day.
- Scope of Work — describe what the customer needs (e.g. "Full resurface, crack fill, restripe — approx 18,000 sq ft").
- Assign To — select the staff member responsible for following up.
- Click Create Ticket.
The ticket is created with status Submit Bid (red) and appears at the top of the Sales Pipeline.
Next Steps After Creating
- Open the ticket and add a Note with details from your conversation and a follow-up due date.
- When you've submitted the bid, update the ticket status to Follow Up using the Edit button.